Hi everyone! Today I thought I would share a project that I have been wanting to work on for a while now.
That is, restoring this quilt. I had been wanting to find some tattered up quilts just for practicing on and of
course the finishing product! So I was very happy when I found this one at a local thrift store for just $5!
The actual sewing looks to have been done in the 60's but most of the fabric is (we are guessing) to be from the 30's up to the early 60's! There is for sure some flower sack fabric mixed in. Such a fun unique piece!
So, what started me thinking about doing some quilt restoring is this article from a Mary Jane's farm magazine back from 2009 that my aunt gave me.
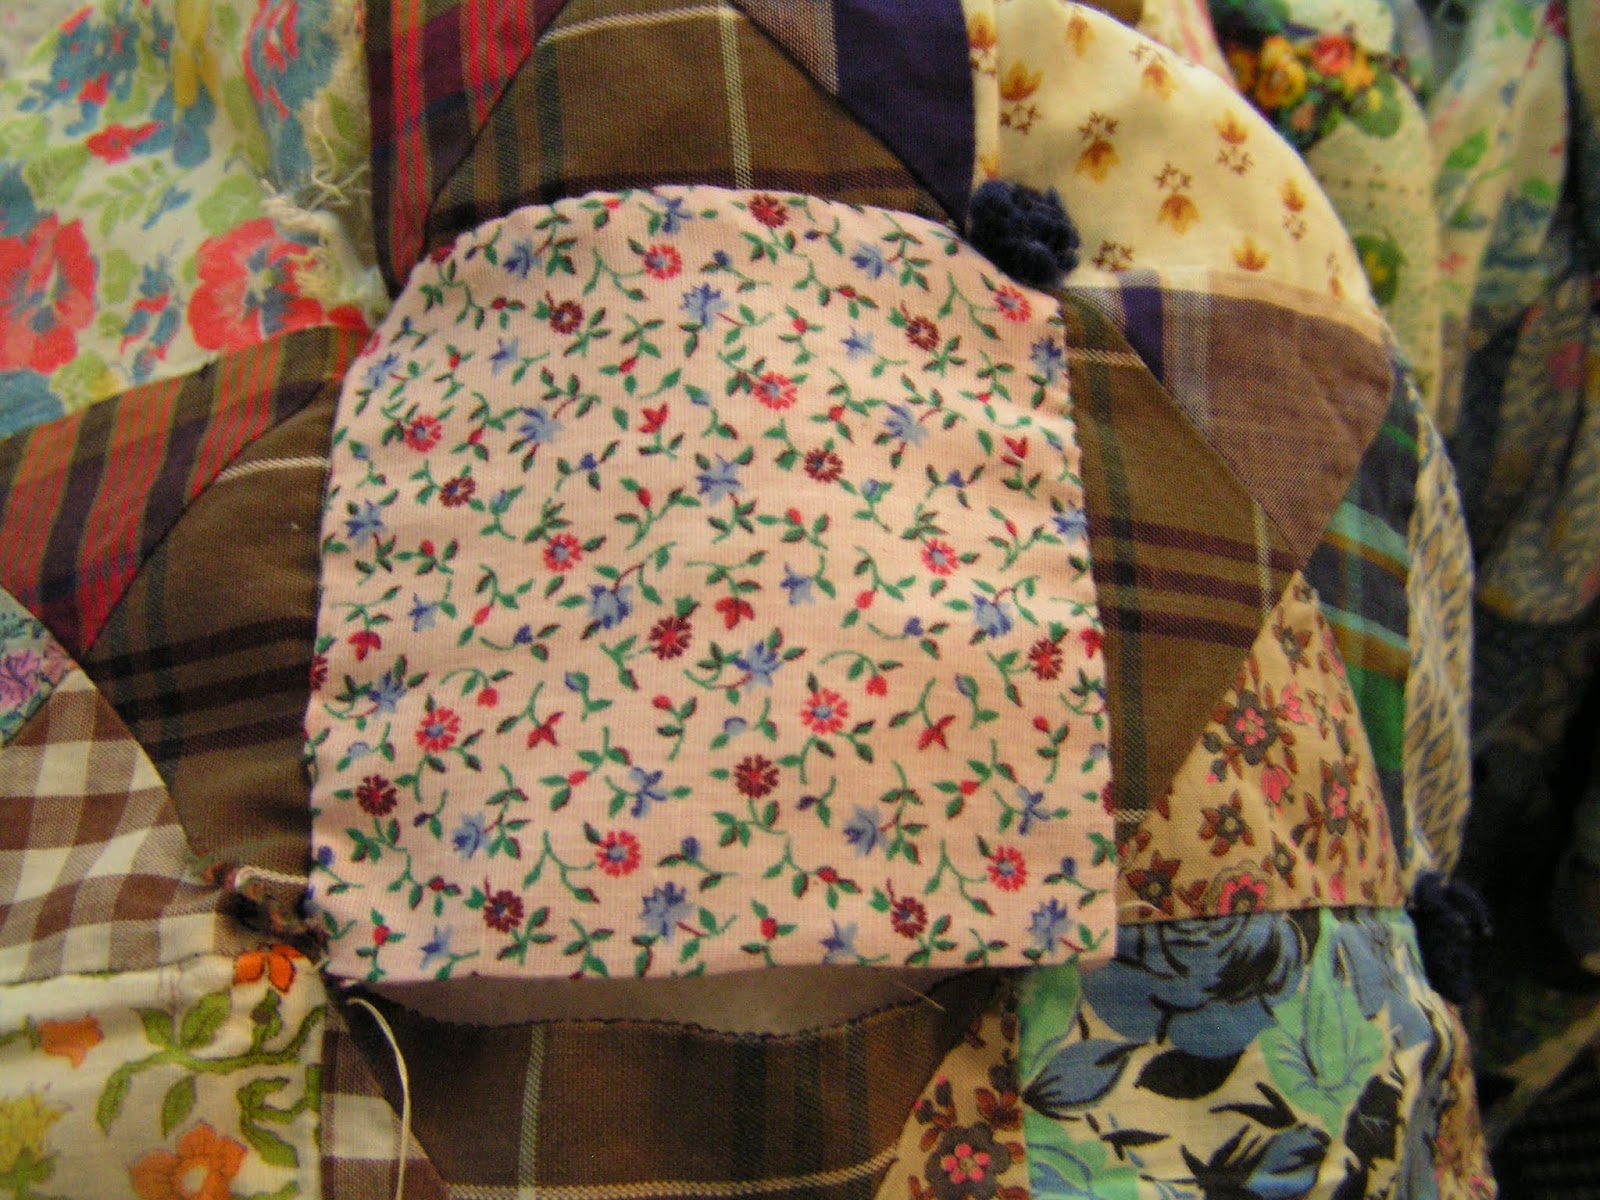
So I chose the area that I wanted to work on.
Then tried to choose fabric that would blend in well with the rest of it.
And ironed it.
Then I measured a remaining same sized square to get the correct size for my piece.
So as you can see, it is about 3.5" so I made it a 4"x4" square so that I would have
enough fabric for the hem.
Then went back to the iron to fold down all four edges in a very tiny seam allowance.
So now we get to sew! :) Start by putting right sides together and pinning to only the other square that you will be sewing your new square to.
Choose your color of thread and thread your needle.
I also put on an embroidery hoop around my working area.
Then start sewing across the first pinned side.
Then once you are done with that side, take off embroidery hoop and pin your next side.
^It should look like this^
Sew across that side..........do the same with the next (3rd.) side.
It will be a little lumpy.:)
Now you can see how nice your 3 sides look all in place!
So this was the most difficult part. Just do a simple loop stitch closing up that last side by taking the folded down edges together in the inside.
You did it!
Now, what would have made this find even better is if it had top stitching to follow.But it does not have any so I just did a simple star over my square.
From corner to corner
And done!
I love how the star turned out!
So this was fairly simple, just thought I would share it!
Saturdays are my usual sewing days so keep checking in! I will try to share them! :)
I thought that I would share a few pictures of these buttons that I received from my aunt.
Aren't they so fabulous?! They are mostly still on their original cards! :)
These will be so fun to work with! What shall I make? hmmm..
These cards are my favorite! So pretty!
(note the 10cent price in the corner)
How do you think that I did for my first time ?
Have you done any quilting/restoring ?
Have any comments on how to restore quilts ?
Have you found any vintage treasures lately ?
Blessings, Cassie


Oh, that quilt is such a neat find! And I love your tutorial on restoring it!
ReplyDeleteAnd those buttons are just SCRUMPTIOUS!!! As you already know, I just got some vintage fabric from the 40's and 50's. I haven't ever done any restoring myself...yet... :)
And you did a fantastic job for your first time! Looking forward to your next sewing post!
Blessings,
Brigid
The Middle Sister and Singer
Thanks so much for commenting and following!
ReplyDeleteCassie