Happy Saturday to you!
We had another car wash (fundraiser for mission trip) this afternoon so I really didn't have much time to sew/post about it.So I decided to do this simple project that I have been wanting to do for a while now and share it with y'all.
Have you ever had any beautiful doilies or hankies that either have a stain or rip and you just dont know what to do with them ? They always have such fine crocheted edges and beautiful embroidery it would be such a same to let all that time consuming work go to waste! Well, I was thinking about it and came up with the idea to recreate them into throw pillows! So here are the few that I whipped up last night, but I hope to make some more in the near future!
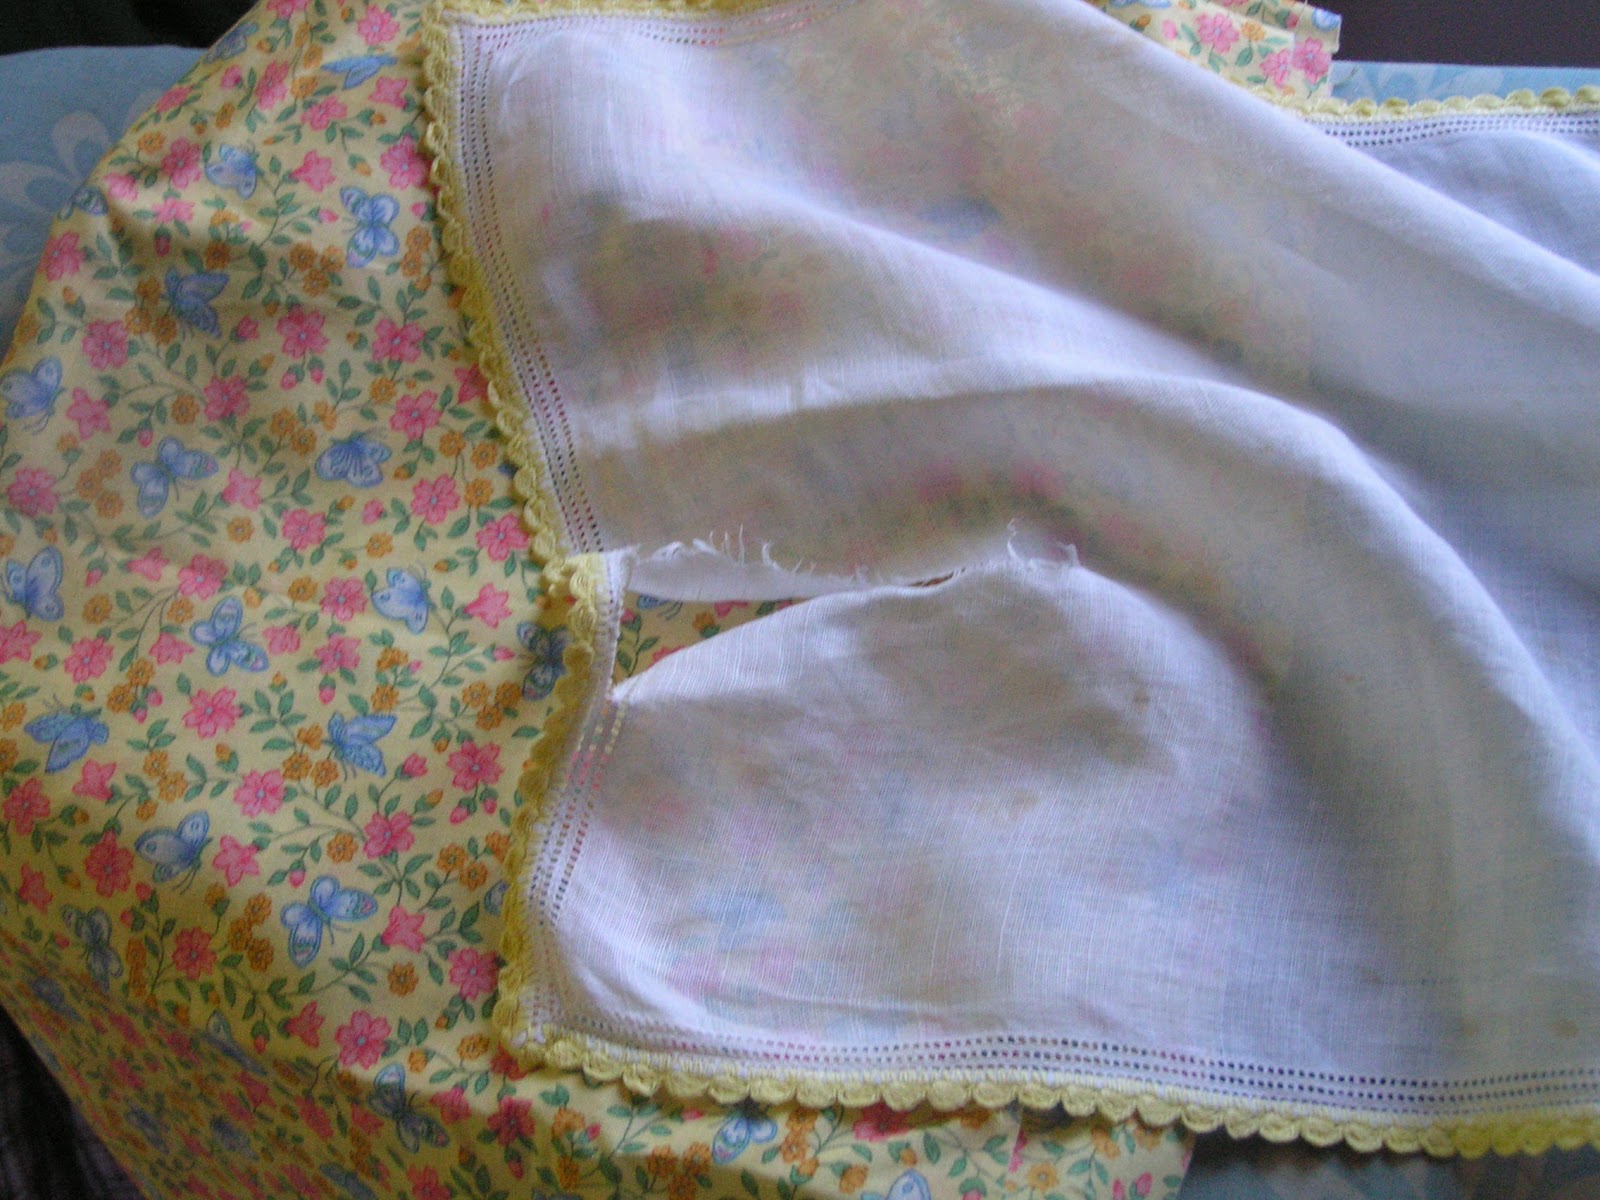
As you can see this cute hankie had a rip right into the middle, so to'fix' that I just chose some coordinating fabric to use as the back and cut out a heart shape to shield the rip with the same fabric.
Once I had everything picked out and ironed I layed the hankie on the fabric and cut around it, leaving enough for seam allowance.
For the heart shape I just drew a heart right onto the fabric with chalk and cut around it with pinking shears.
Then chose a decorative stitch from my mom's sewing machine and sewed it on.
Last step is to pin on your back and sew around leaving a small hole for stuffing.Stuff your pillow and sew up the hole! I really like the cheery yellow and delicate edging .....
The finished product! :)
This one had no rips but stains in the middle of it. This was actually a pillow cover already.It had four different clusters of flowers on it and a ruffle around it. I bought it (with the stains) with this project in mind.
So I cut one of the four corners out that I liked the best and cut out a back for it. Added some rickrack and pinned it in place.
Sewed only those two sides (right sides together) and turned it in side out. Then, after pinning the two ruffled sides together (wrong sides together) sewed those sides while leaving a hole for stuffing. Stuffed it and sewed up the hole! So fun and easy!
And here we are, done!
This one is circular and only had a small slice in the middle. So to cover up the hole I took a blue rose embroidered hankie and chopped it up to lay over the hole.
Here is what I did to use the hankie as a cover up...Cut around it in a square shape and cut off the other three corners and layed them over the plain, cut corners.Pinned it in the correct place.And sewed a small zigzag around the four sides and across the triangular corners.
After I sewed around the four sides and corners, I went back and cut off the under flap of each corner.
Once I had that finished I cut out a back for it and instead of trying to do a folded in seam I just stuck with the small zigzag that I had used before and sewed around leaving a hole for stuffing, stuffed it, and zigzagged the hole closed. :)
Beautiful!
I had a fun time with these and as I said, hope to do some more soon!
I would love to hear any comments or questions!
Which one do you like the best ?
Do you think that you will try this yourself ?
Thanks for reading!
Cassie


No comments:
Post a Comment
Thank you so much for leaving your thoughts about this post! We allow anonymous comments and enjoy reading them as much as those of our followers, but if you're not signed in, please sign off using some sort of identification. Than you for taking the time to comment!